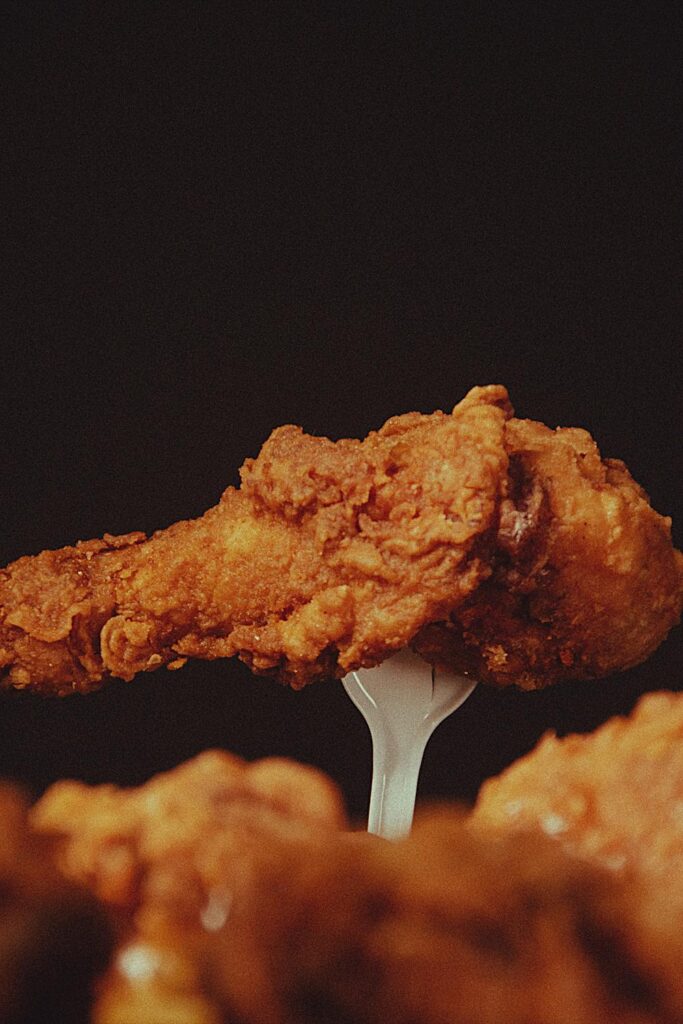
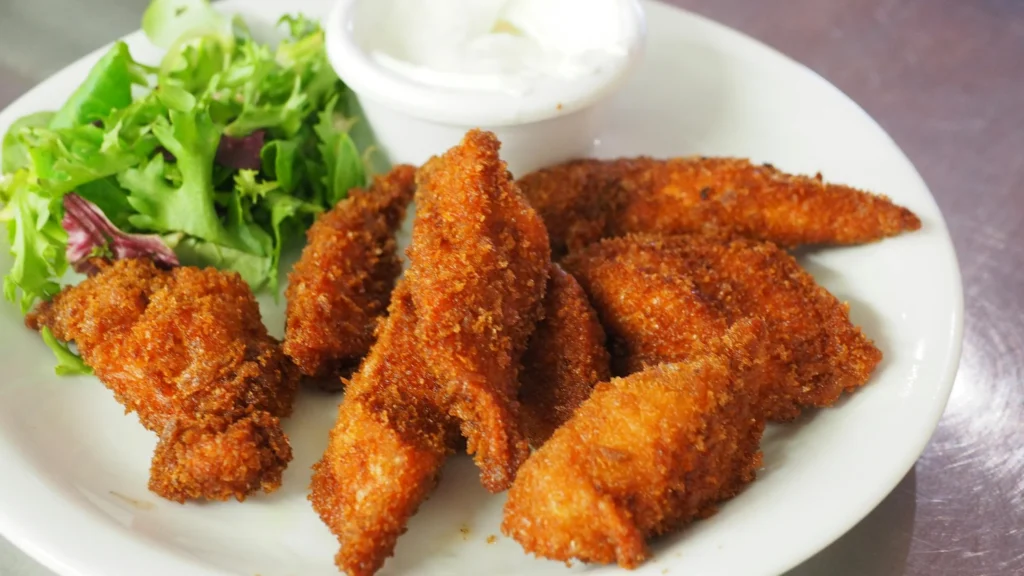
When it comes to comfort food, few dishes can compete with the crispy, golden-brown deliciousness of Crispy Chicken Fingers. Whether you’re preparing a meal for your family, a gathering with friends, or simply craving a tasty snack, Crispy Chicken Fingers always hit the spot. These perfectly breaded, tender chicken strips offer the ideal combination of crunch and flavor, making them a timeless favorite for people of all ages.
In this post, we’ll dive into everything you need to know about Crispy Chicken Fingers, from the best recipe to tips for getting them just right every time. Whether you’re a seasoned cook or a beginner, you’ll find everything you need to make your next batch of Crispy Chicken Fingers a hit.
What Are Crispy Chicken Fingers?
Crispy Chicken Fingers are breaded chicken tenders that are deep-fried or baked to perfection. They are typically made from boneless, skinless chicken strips, which are coated in a seasoned breadcrumb mixture or batter, then cooked until golden and crispy on the outside while remaining juicy and tender on the inside.
These chicken fingers are perfect for dipping into a variety of sauces, such as honey mustard, barbecue sauce, ranch, or spicy buffalo sauce. The versatility of Crispy Chicken Fingers makes them a popular choice for kids and adults alike, whether served as a snack, appetizer, or main dish.
Why Are Crispy Chicken Fingers So Popular?
There’s something universally appealing about Crispy Chicken Fingers. Here’s why they’re beloved by so many:
1. The Perfect Crunch
The golden, crispy exterior contrasts perfectly with the juicy, tender chicken inside. This combination of textures makes every bite satisfying.
2. Versatility
You can enjoy Crispy Chicken Fingers as a snack, a main course, or an appetizer. They also pair well with a variety of sides like fries, coleslaw, or a fresh salad.
3. Kid-Friendly
Kids love Crispy Chicken Fingers for their mild flavor and easy-to-hold shape. Plus, they’re great for dipping into sauces, making mealtime more fun.
4. Simple Ingredients
You don’t need any fancy ingredients to make Crispy Chicken Fingers. Most of the ingredients are pantry staples, making it easy to whip up a batch on a busy day.
5. Customizable
Feel free to add your favorite seasonings or sauces to the breading, making these chicken fingers as flavorful or spicy as you like.
How to Make Perfect Crispy Chicken Fingers
Now that you know why Crispy Chicken Fingers are so great, let’s talk about how to make them. With just a few simple ingredients and some basic techniques, you can create the crispiest, most delicious chicken fingers right at home.
Ingredients:
- 1 lb chicken tenders (or boneless, skinless chicken breasts cut into strips)
- 1 cup all-purpose flour
- 2 large eggs
- 1 ½ cups breadcrumbs (panko breadcrumbs work best for extra crunch)
- 1 tsp garlic powder
- 1 tsp onion powder
- ½ tsp paprika
- Salt and pepper to taste
- Vegetable oil (for frying)
Instructions:
Step 1: Prepare the Chicken
Start by cutting your chicken breasts into strips or use pre-cut chicken tenders. Pat the chicken dry with a paper towel to ensure the breading sticks properly.
Step 2: Set Up the Breading Station
Set up three shallow dishes for the breading process:
- In the first dish, place the flour, and season with salt and pepper.
- In the second dish, whisk the eggs together.
- In the third dish, combine the breadcrumbs, garlic powder, onion powder, and paprika.
Step 3: Coat the Chicken
Dredge each chicken strip in the flour, ensuring it’s fully coated. Then dip it in the beaten eggs, followed by the breadcrumb mixture. Press gently to ensure the breadcrumbs stick well. Repeat this process for each piece of chicken.
Step 4: Heat the Oil
Heat vegetable oil in a large skillet over medium-high heat. You’ll want about 1 inch of oil in the pan to fry the chicken fingers.
Step 5: Fry the Chicken
Once the oil is hot (but not smoking), carefully place the chicken fingers in the skillet. Cook them for about 3-4 minutes on each side, or until golden brown and crispy. Be sure not to overcrowd the pan—cook in batches if necessary.
Step 6: Drain and Serve
Once the chicken fingers are golden brown and cooked through, transfer them to a plate lined with paper towels to drain excess oil. Serve hot with your favorite dipping sauces.

Baked Crispy Chicken Fingers: A Healthier Option
If you’re looking for a healthier alternative to deep frying, you can bake Crispy Chicken Fingers in the oven. Baking results in a slightly lighter, less greasy dish but still delivers a crispy exterior.
Instructions for Baked Chicken Fingers:
- Preheat your oven to 400°F (200°C).
- Place the breaded chicken fingers on a baking sheet lined with parchment paper.
- Lightly spray the chicken with cooking spray to help it crisp up.
- Bake for 15-20 minutes, flipping the chicken halfway through, until the chicken is golden and cooked through (internal temperature should be 165°F).
This method is perfect for those looking to reduce the oil content while still enjoying Crispy Chicken Fingers.
Tips for the Crispiest Chicken Fingers
Want to take your Crispy Chicken Fingers to the next level? Here are some pro tips to ensure they’re perfectly crunchy every time:
1. Use Panko Breadcrumbs
Panko breadcrumbs are lighter and crispier than regular breadcrumbs, creating a better crunch when fried or baked.
2. Double Dredge
For an extra-thick, crunchy crust, double dredge your chicken fingers. Dip the chicken in flour, eggs, and breadcrumbs, then repeat the process for even more crunch.
3. Don’t Skip the Resting Time
Let the breaded chicken rest for about 10 minutes before frying or baking. This helps the breading set and prevents it from falling off during cooking.
4. Don’t Overcrowd the Pan
Whether frying or baking, make sure there’s enough space around each chicken finger. Overcrowding leads to steaming, not crisping.
5. Monitor Oil Temperature
If you’re frying, make sure the oil is at the right temperature (around 350°F). If the oil is too hot, the breading will burn before the chicken cooks. If it’s too cool, the chicken will absorb excess oil and become greasy.
Crispy Chicken Fingers Variations
While the classic Crispy Chicken Fingers are always a winner, feel free to get creative with different variations:
1. Spicy Crispy Chicken Fingers
Add a teaspoon of cayenne pepper or chili powder to the breadcrumb mixture for a spicy kick.
2. Parmesan-Crusted Chicken Fingers
Mix grated Parmesan cheese into the breadcrumbs for a cheesy, flavorful crust.
3. Sweet and Sour Chicken Fingers
Toss your crispy chicken fingers in a sweet and tangy sauce, such as honey mustard or sweet chili sauce, for a unique twist.
Serving Ideas for Crispy Chicken Fingers
Crispy chicken fingers are incredibly versatile and can be served with a wide variety of sides and dipping sauces. Here are some great ideas:
Sides:
- French fries or sweet potato fries
- Coleslaw
- Mashed potatoes
- Fresh salad
- Rice pilaf
Dipping Sauces:
- Honey mustard
- Barbecue sauce
- Ranch dressing
- Buffalo sauce
- Ketchup
Storing and Reheating Leftover Chicken Fingers
If you have leftover Crispy Chicken Fingers, they can be stored in the refrigerator for up to 3 days. To reheat them and keep them crispy:
- Preheat your oven to 375°F.
- Place the chicken fingers on a baking sheet and bake for about 10-15 minutes, flipping halfway through.
This will help restore the crunch and ensure they’re heated through.
Conclusion: Why Crispy Chicken Fingers Are Always a Winner
Whether you’re feeding picky eaters or looking for a crowd-pleasing appetizer, Crispy Chicken Fingers are a go-to recipe that everyone loves. With their perfect balance of crispy exterior and tender interior, they never disappoint. Whether fried or baked, seasoned to perfection, and paired with your favorite dipping sauces, Crispy Chicken Fingers are sure to be a hit at any table.
By following the steps and tips outlined here, you can create crispy, flavorful chicken fingers that are sure to impress every time.

