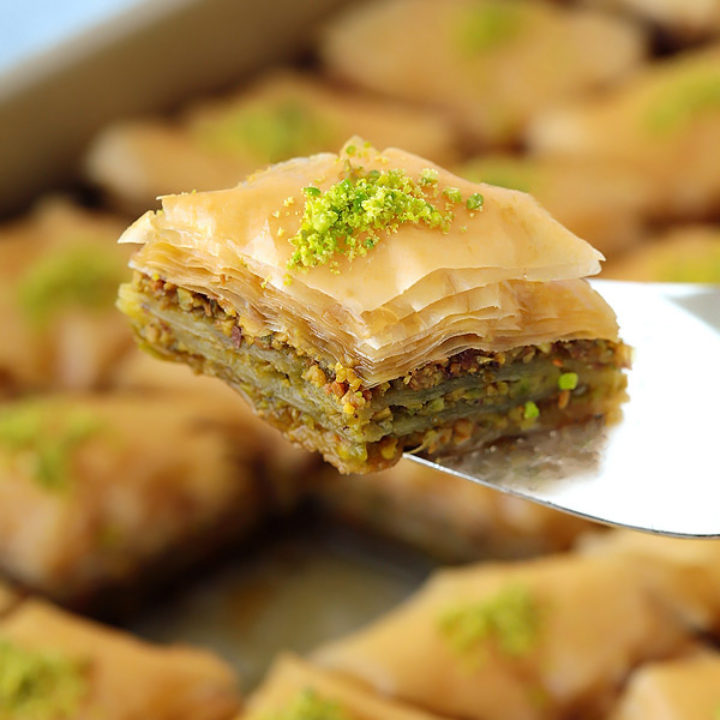
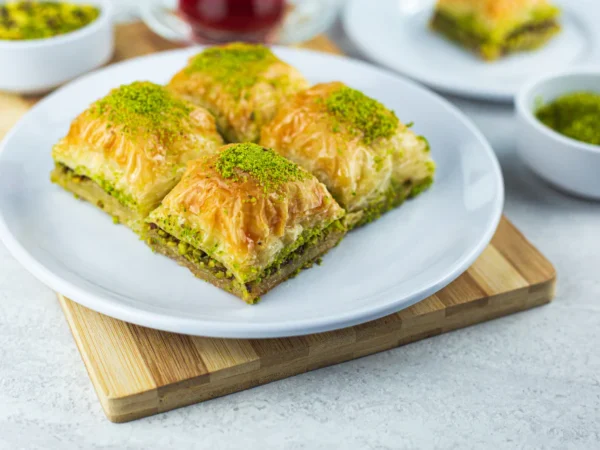
When it comes to desserts that transcend borders and cultures, few can rival the allure of Baklava with Pistachio. This exquisite pastry, with its delicate layers of filo dough, rich pistachio filling, and sweet syrup, has captivated taste buds for centuries. Whether you’re a seasoned baker or a novice in the kitchen, this guide will walk you through the art of making this delectable treat, exploring its origins, variations, and tips for perfecting your own batch.
🥄 What Is Baklava with Pistachio?
Baklava with Pistachio is a traditional pastry that originated in the imperial kitchens of the Ottoman Empire. It consists of multiple layers of thin filo dough, each brushed with melted butter or ghee, and filled with a mixture of finely chopped pistachios and sugar. After baking, the pastry is drenched in a sweet syrup made from sugar, water, and often flavored with lemon juice or rose water. The result is a rich, flaky, and nutty dessert that’s both indulgent and satisfying.
🏛️ A Brief History of Baklava
The history of Baklava with Pistachio is as layered as the pastry itself. While its exact origins are debated, it’s widely believed that baklava was perfected in the royal kitchens of the Topkapı Palace in Istanbul during the Ottoman era. The city’s proximity to regions abundant in pistachios, such as Gaziantep in southeastern Turkey, contributed to the widespread use of this nut in the dessert.
Over time, baklava spread across the Middle East, Central Asia, and the Balkans, with each region adding its unique twist. In Turkey, for instance, Gaziantep is renowned for its pistachio baklava, which is so esteemed that it has been granted Protected Geographical Indication status by the European Union .
🧁 Ingredients You’ll Need
To make Baklava with Pistachio, you’ll need the following ingredients:
- Filo Dough: Thin sheets of unleavened dough that form the base of the pastry.
- Pistachios: Finely chopped; they provide the nutty filling.
- Butter or Ghee: Used to brush between the layers of filo dough.
- Sugar: Sweetens the nut mixture.
- Water: Forms the base of the syrup.
- Lemon Juice: Adds a hint of acidity to balance the sweetness.
- Rose Water or Orange Blossom Water (optional): Imparts a floral aroma to the syrup.

👩🍳 Step-by-Step Guide to Making Baklava with Pistachio
1. Prepare the Nut Filling
In a bowl, combine finely chopped pistachios with sugar. This mixture will serve as the filling for your baklava.
2. Assemble the Layers
Preheat your oven to 350°F (175°C). Grease a 9×13-inch baking dish. Place one sheet of filo dough in the dish and brush it generously with melted butter or ghee. Repeat this process, layering and buttering each sheet, until you have about 8 sheets layered.
3. Add the Nut Filling
Evenly spread a portion of the pistachio mixture over the layered filo dough.
4. Continue Layering
Place another sheet of filo dough over the pistachio filling, brush with butter, and repeat the process until you’ve used half of the filo dough.
5. Add More Nut Filling
Spread another layer of the pistachio mixture over the filo dough.
6. Finish Layering
Continue layering the remaining filo dough sheets, brushing each with butter, until all sheets are used.
7. Cut the Baklava
Using a sharp knife, cut the assembled baklava into diamond or square shapes.
8. Bake
Bake in the preheated oven for about 45-50 minutes, or until the baklava is golden brown and crisp.
9. Prepare the Syrup
While the baklava is baking, combine sugar and water in a saucepan. Bring to a boil, then reduce the heat and let it simmer for about 10 minutes. Add lemon juice and rose water or orange blossom water, if using. Remove from heat and let it cool.
10. Pour the Syrup
Once the baklava is done baking, remove it from the oven and immediately pour the cooled syrup evenly over the hot pastry. Allow the baklava to absorb the syrup and cool completely before serving.
🌍 Regional Variations of Baklava with Pistachio
While the basic concept of Baklava with Pistachio remains consistent, different regions have their unique takes on this classic dessert:
- Turkish Baklava: Often made with pistachios from Gaziantep, this version is known for its thin layers and rich flavor.
- Persian Baklava: Incorporates ingredients like saffron and rose water, offering a distinct aromatic profile.
- Greek Baklava: Typically uses a combination of walnuts and pistachios, with a syrup flavored with honey and cinnamon.
Each variation reflects the local ingredients and culinary traditions, adding to the rich tapestry of baklava’s history.
🧠 Tips for Perfecting Your Baklava
- Handle Filo Dough Carefully: Filo dough dries out quickly. Keep unused sheets covered with a damp towel to prevent them from becoming brittle.
- Use Clarified Butter or Ghee: These have a higher smoking point than regular butter, making them ideal for baking.
- Let the Syrup Cool: Pouring hot syrup over hot baklava can make it soggy. Allow both to cool before combining.
- Allow Time for Absorption: After pouring the syrup, let the baklava sit for several hours or overnight to fully absorb the flavors.
🍽️ Serving Suggestions
Baklava with Pistachio is best enjoyed with a cup of Turkish tea or strong coffee. It’s a delightful dessert for special occasions like weddings, holidays, or as a sweet ending to a festive meal.
🏡 Storing and Freezing Baklava
- At Room Temperature: Store baklava in an airtight container at room temperature for up to a week.
- In the Refrigerator: For longer storage, keep it in the fridge for up to two weeks.
- Freezing: Baklava can be frozen before or after baking. To freeze before baking, assemble the layers, cut into pieces, and freeze. To freeze after baking, allow it to cool completely, then wrap tightly and freeze for up to two months. Thaw at room temperature before serving.


Pingback: "10 Reasons Why Crepes Are the Ultimate Anytime Meal" - delisiousresipes.com