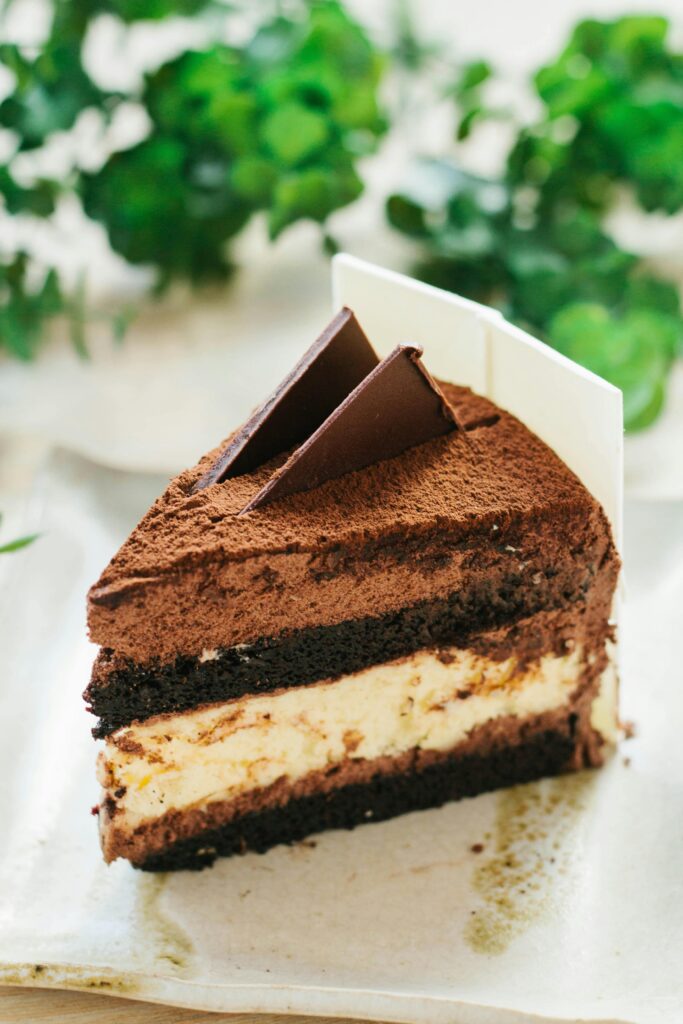
For the Chocolate Ganache:
- 1 1/4 cups semi-sweet chocolate chips or chopped chocolate
- 1 cup heavy cream
- 1 tablespoon butter (optional, for shine)
👨🍳 Instructions
Step 1: Bake the Chocolate Cake
- Preheat oven to 350°F (175°C). Grease and flour two 9-inch round cake pans or line with parchment paper.
- In a large bowl, sift together flour, cocoa powder, sugar, baking powder, baking soda, and salt.
- Add eggs, milk, oil, and vanilla. Beat on medium speed for 2 minutes.
- Stir in the boiling water (the batter will be thin—don’t worry!).
- Divide batter evenly between the prepared pans.
- Bake for 30–35 minutes, or until a toothpick inserted into the center comes out clean.
- Let cakes cool in pans for 10 minutes, then transfer to a wire rack to cool completely.
Step 2: Make the Cream Filling
This filling is the secret to that classic “Ding Dong” flavor—a light, not-too-sweet vanilla cream that sits between the rich chocolate cake layers.
- In a small saucepan over medium heat, whisk together milk and flour until thickened like a roux (about 3–5 minutes). Stir constantly to avoid lumps.
- Remove from heat and let cool completely.
- In a large bowl, beat butter, shortening, and sugar until light and fluffy (about 3–4 minutes).
- Add the cooled flour-milk mixture and vanilla. Beat on high speed for another 4–5 minutes until smooth and whipped.
You’ll end up with a fluffy, cloud-like filling that spreads easily and holds its shape.
Step 3: Assemble the Cake
- Place one cake layer on a serving plate or cake stand.
- Spread all of the cream filling evenly over the top.
- Place the second cake layer on top and press down gently.
- Refrigerate for 30 minutes to firm up before applying the ganache.
Step 4: Make the Chocolate Ganache
- In a small saucepan, heat heavy cream until it just begins to simmer (do not boil).
- Pour hot cream over the chocolate chips in a heatproof bowl.
- Let sit for 2–3 minutes, then stir until smooth. Add butter for extra shine, if desired.
- Let ganache cool for 5–10 minutes until slightly thickened but still pourable.
Step 5: Glaze the Cake
- Pour the ganache over the top of the cake, letting it drip slightly down the sides.
- Use a spatula to smooth the top if needed.
- Refrigerate again for 30–60 minutes, or until ganache is set.
🍰 Serving & Storing
- Serve chilled or at room temperature.
- The cream filling firms up nicely in the fridge, making clean slices easier.
- Store covered in the fridge for up to 5 days. For best flavor, let slices sit at room temp for 10–15 minutes before serving.
🔄 Variations & Tips
- Make it mini: Use a muffin tin to make Ding Dong cupcakes with cream centers.
- Add chocolate chips: Fold chocolate chips or chunks into the batter for extra texture.
- Swap fillings: Use marshmallow fluff, whipped ganache, or peanut butter cream instead.
- Go gluten-free: Sub your favorite 1:1 gluten-free flour blend.
Pro Tip: If you want the cake to truly mimic a Ding Dong, consider freezing the assembled cake slightly before adding the ganache—it makes the outer shell more like the classic snack!
🥄 Why You’ll Love This Recipe
- Nostalgic flavor with a gourmet twist
- Crowd-pleasing layers: Moist chocolate cake, sweet vanilla cream, silky ganache
- Perfect for celebrations or casual treats
- Make-ahead friendly
- Customizable with simple swaps and additions
📜 Final Thoughts
This Ding Dong Cake is a modern love letter to a classic American treat. It captures the essence of childhood snacktime but upgrades it with homemade richness and grown-up flavor. Whether you’re baking for a special occasion or just want something fun and familiar, this cake delivers on every level.
So go ahead—dust off that cake stand, gather your ingredients, and indulge in a little slice of chocolate-covered nostalgia. One bite, and you’ll see why this dessert never goes out of style.

